
Five Scrapbooking Supplies to Use with Polymer Clay
I was a primarily a paper crafter before I fell in love with polymer clay -- and I still enjoy stamping and making handmade cards. As expensive as craft supplies can be, it's wonderful when you can re-use tools for a different medium. So while these tools may be less "unconventional" than an herb mincer or a pumice stone, I wanted to share them with others of you who have a paper crafting background.
Here are five common scrapbooking supplies that you can also use with polymer clay:
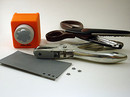 Punches & Scissors: Decorative paper punches create tiny polymer clay shapes that are useful for mosaic pieces and more. Start by rolling out a thin sheet of clay to at least the 4th- or 5th-thickest setting on your pasta machine. Texture it and embellish it if you want, then bake it. Once it's cooled, use your punches just like you would with paper. Rounded corner punches and decorative scissors also work wonderfully... Just think of the Artist Trading Card possibilities!
- Rubber Stamps: Stamping can be an expensive hobby -- but lucky for us, there are all sorts of ways to use stamps with polymer clay.
 Before baking: If you have deeply-carved stamps, use them with unbaked clay to create a stamped image with a lot of texture. Try spritzing the stamp with water (which acts as a release) if you only want the texture. Brush Pearl Ex powders onto the stamp for a release agent that also has some shine. There are several techniques -- such as mica shift and Sutton slice -- that achieve beautiful results using rubber stamps on unbaked clay.
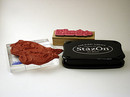
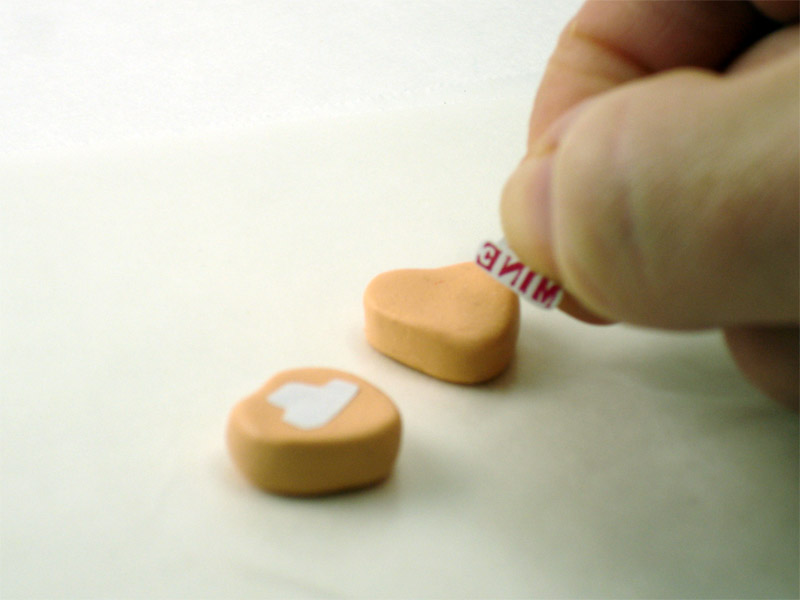
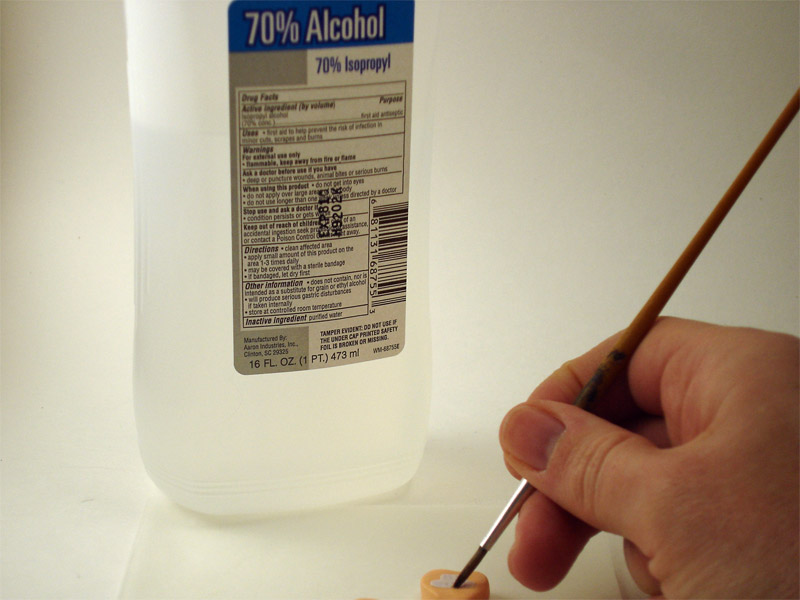
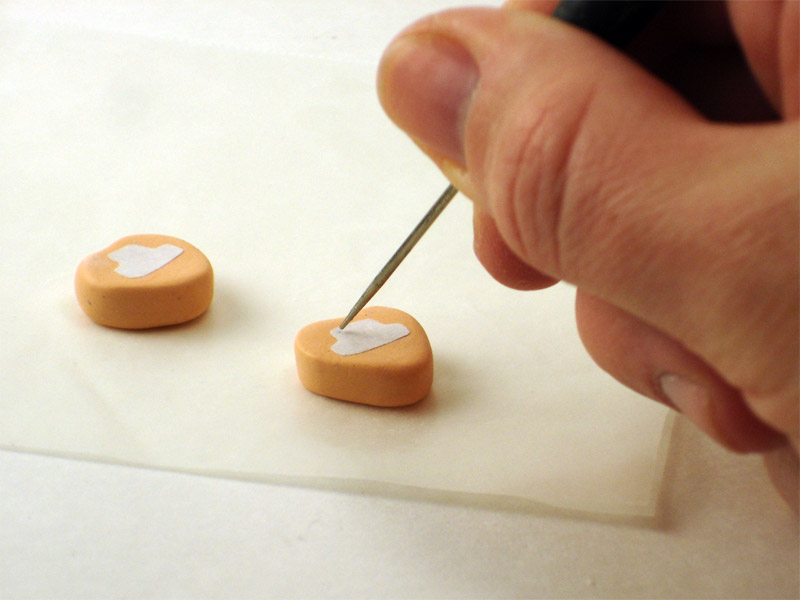
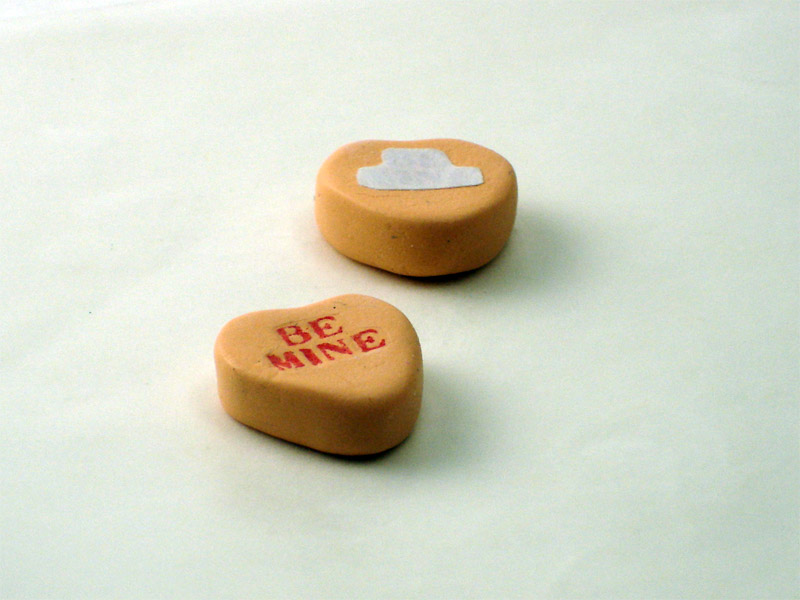
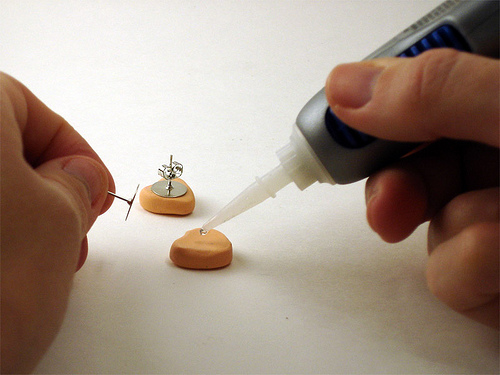
- After baking: Go for a simple effect with a single stamped image -- or try alternating stamped images with thin sheets of liquid polymer clay for a beautifully elaborate layered effect. Either way, the ink type is very important when you're stamping on baked polymer clay. I recommend a solvent ink such as StazOn. If you're new to this ink type, let me warn you that it can be permanent on your stamps too -- so be sure to buy & use a good stamp cleaner.
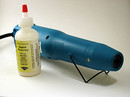 Heat Gun: As my fellow guild member, April, shared with us last meeting, liquid clay and a heat gun can provide a wonderful alternative to sanding and buffing polymer clay beads. Bake your beads as usual, then put them on a wire. Apply a thin layer of Kato Clear Medium liquid clay, then use your heat gun to set it. Be sure to keep the heat gun an inch or two away and keep it constantly moving -- otherwise you could burn the clay. It takes a couple of minutes, but you'll end up with a beautiful shine. (See April's samples here.)
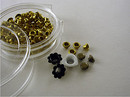 Eyelets: Check out our article for 5+ ways to use eyelets with polymer clay.
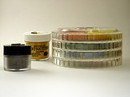 Chalks & Powders. Embossing powders, Pearl Ex powders, and chalks all work wonderfully with un-baked polymer clay. Chalks are great for subtle effects -- like blushing cheeks on a clay sculpture. Pearl Ex powders and embossing powders can be mixed in or applied to the surface of the clay, creating an effect as subtle or bold as you want. Try B-muse's tutorial for making buttons with translucent clay and embossing powder. Or try one of Glass Attic's many faux recipes using embossing powders.
I'd love to hear about your favorite scrapbook-turned-clay tools in the comments below....


