
How to Make a Polymer Clay Notepad
 I love my local polymer clay guild -- wouldn't miss a meeting unless I had to! But I have to say I wasn't sure about our last project. Granted, I was eager to learn about how to use Ultra Thick Embossing Enamel (UTEE) with clay. But the project itself was a photo album, and I just don't do photos. Or at least, I don't do printed photos. All my photos are the digital kind, and I'm happy that way.
Guild members Penni Jo Couch and Sue Kerr did a wonderful job teaching. I enjoyed the UTEE, and had a couple of "a-ha" moments with the project itself. But when I brought home my covers, all ready to assemble into an album, it was my husband who offered the "a-ha." Why didn't I make it into a notepad instead of an album, he asked?
I've been needing a notepad for my car ever since my PDA died -- so that's what I did. I made me a notepad. Well, three actually. And I took a few pics of the process in case you want to make one too. (Be sure to check out Penni Jo's original instructions here as well.)
Instructions
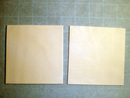 Roll out a large polymer clay sheet to the second- or third-thickest setting. Texture if desired, then use a card-stock template to cut a front and back cover from the sheet. My covers were 3" square, but any shape & size would work.
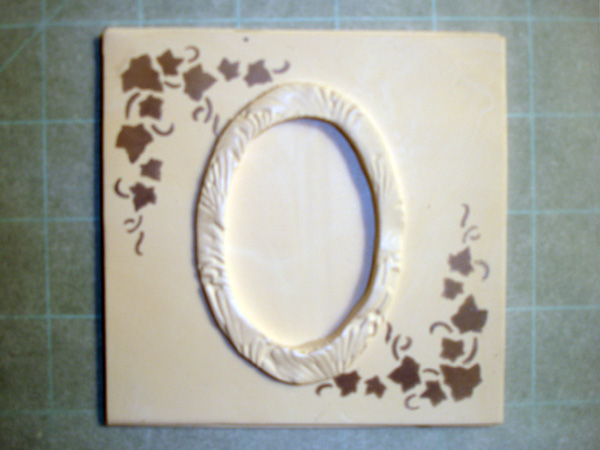
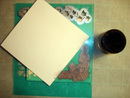 Decorate the cover. Here I used a stencil sheet and rubbed on Pearl Ex powders to create the silver ivy pattern.
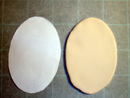 Cut the frame for your UTEE window. (Note: Skip to step #10 if you don't want a UTEE window.) Penni Jo's Instruction Sheet [PDF] includes a great selection of templates (oval, rectangle, etc) to choose from, or you can use the "shapes" function in your desktop publishing software to create your own. You need two shape templates -- one larger than the other. The shape we're cutting here will be the frame for the window, so we're use the larger template to cut it.
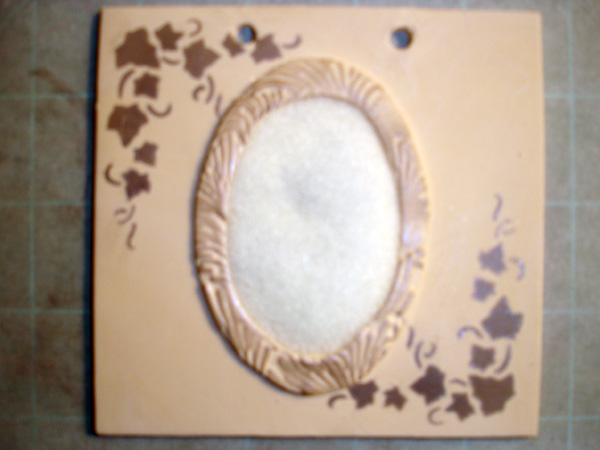
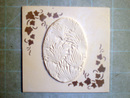 Add the frame to the front cover. I used a texture sheet on my frame, then rubbed Pearl Ex powders on the raised portions to highlight the texture.
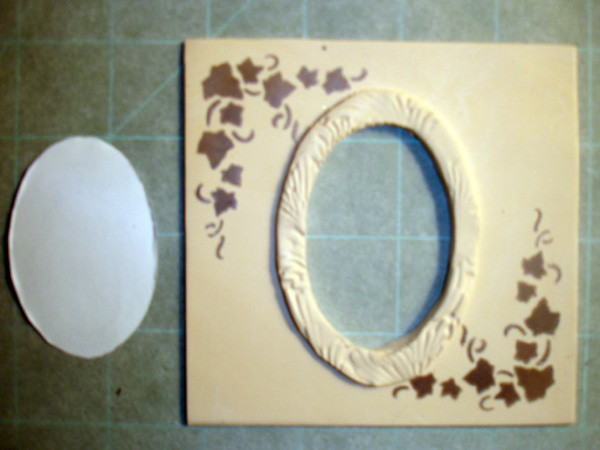
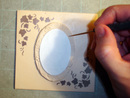 Using the smaller of the two shape templates, cut all the way through the frame AND the cover.
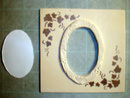 Remove the clay you just cut out, and clean up any rough inside edges. You've created a framed window in your cover.
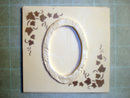 Add a thin sheet of clay behind your cut-out. While I used another 3" sheet for mine, you could probably save a little clay by using a piece that's just slightly larger than your window. Note: If you have a transfer, photo, etc. that you want to sandwich between the clay sheets, feel free to decorate the back sheet before attaching it to the cover
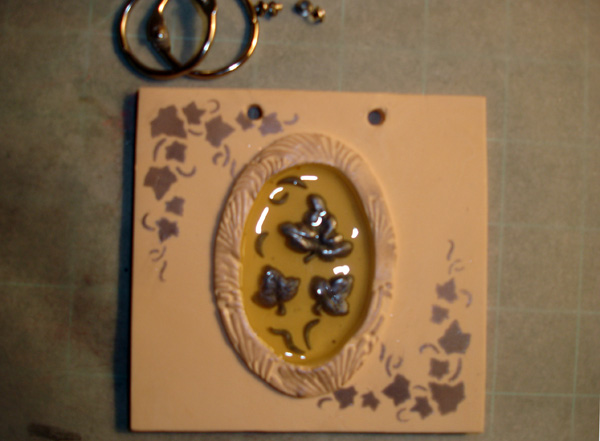
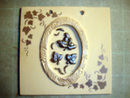 Decorate the window. Here I added a few molded leaves.
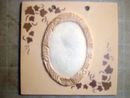 Fill in the window with Ultra Thick Embossing Enamel (UTEE). This comes in a large bottle (check the rubber stamping section of the craft store), in powder form. Pour UTEE until it fills your frame, using a paintbrush to brush off any powder that strays onto your raw clay. (Note: If you have time, baking the cover once before you add the UTEE makes this step a little easier, since the powder's less likely to stick to baked clay.)
 Bake the clay covers. The UTEE will melt in the toaster oven while the clay bakes. It will probably still be liquid-y when it comes out of the oven, so try to keep it on a level surface while it sets.
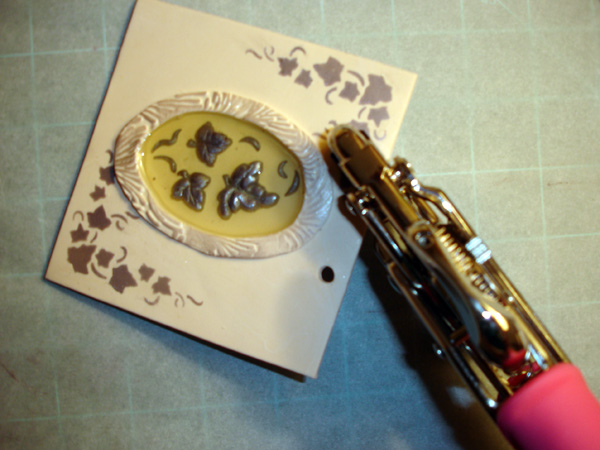
  Punch holes and set the eyelets. (Note: I used my hole punch to punch holes in the baked clay, but you could also punch them before baking. Just make sure the hole's big enough for the eyelets.) I used my Crop-A-Dile (which I love!) to set my eyelets, being careful not to squeeze too hard. You could use other eyelet setting tools -- or if you're concerned about the strength of your clay, you could just glue the eyelets in place.
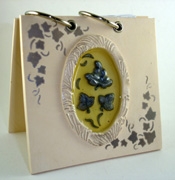
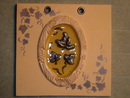 Your cover is done. Now it's time to turn it into a notepad by adding book rings and paper. Book rings should be available in your office supply store -- these are nice because they pop open easily if you want to add more paper. Unfortunately, I couldn't find anything smaller than a 1" size -- I think smaller would look better for this project.
- Add paper. I used a paper trimmer and this template to cut 12 2.75" note-sized pages from a 8.5" × 11" sheet. Recycle by using the backs of un-needed print-outs. Use your cover as a guide to determine where to punch holes in your paper.


Variations
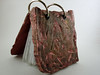
Here's a couple more notepads I've made. The first is the one I made in guild, so it also uses the UTEE. The second is a brick notepad I made to match my recent kitchen projects.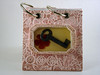
Thanks again to Penni Jo & Sue for the great lesson. While I originally thought I wouldn't have a use for a photo album, this project turned into something super-fun & ultra-useful. Guess it proves that you always gotta show up & be open to ideas!
