
Gingerbread Stamped Holiday Card
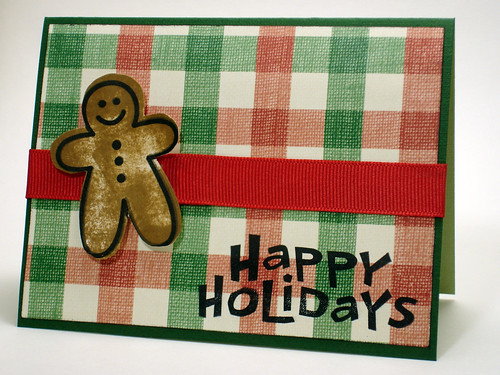
Still hoping to make your own Christmas cards? This gingerbread Christmas card is simple to make, but it will be a welcome addition to any friend's mantle. The trick is to spruce up a basic gingerbread outline stamp — or any other outline stamp — by making your own matching background stamp from foam.
Materials
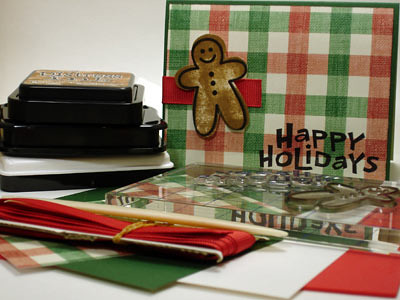
- Stamp: Clear Stamps Christmas set by Paper Studio
- Ink Pads: Distress Ink (Brushed Corduroy), StazOn solvent ink (Jet Black)
- Paper: Christmas Gingham (The Paper Studio), Spring Green card stock (Double Mates), white card stock
- Adhesives: Pop Dots, Terrifically Tacky Tape, removable double-stick tape
- Tools: Fray Check, scissors, bone folder, solvent ink stamp cleaner
- Fun Foam
- Ribbon
Instructions:
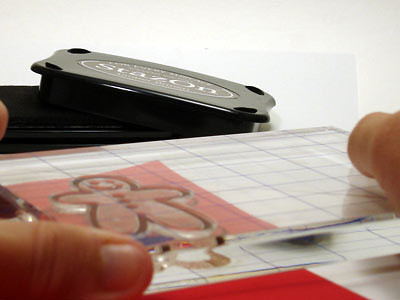
Make Your Own Shadow Stamp. The gingerbread man in this stamp set is just an outline. To add a little interest — and to make it look more like a decorated gingerbread cookie — you'll use a sheet of Fun Foam to create a background or "shadow" stamp. Ink the stamp, using a solvent ink like StazOn for best results. The ink color is unimportant, since this isn't part of the finished card. Then stamp the image on the foam.
- Cut out Foam Image. Be sure to leave a small margin around the outside lines. This will make the background stamp a bit larger than the gingerbread stamp itself.
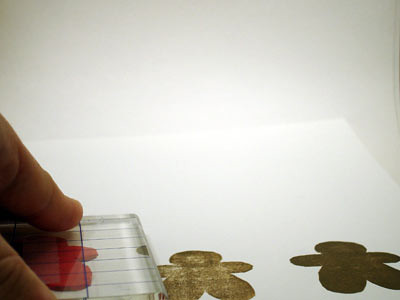
- Ink Foam Background Stamp. First, use a piece of removable double-sided tape to attach the foam to an acrylic block, wooden mount, or other stamping surface. Then apply the ink, making sure the entire foam stamp is covered. Don't worry about getting an even covering of ink for this project — a little variation adds to the gingerbread effect. I used Distress Inks, but most dye or pigment inks would work. You could even use a thin layer of acrylic paint.
- Stamp the Background Gingerbread Image. Press the foam stamp down evenly on white card stock to get a complete impression. If you're having trouble, use a mousepad or stack of paper underneath the card stock to give extra cushioning. You might try stamping several background images in a row (without re-inking between impressions). Sometimes less-saturated images work better.
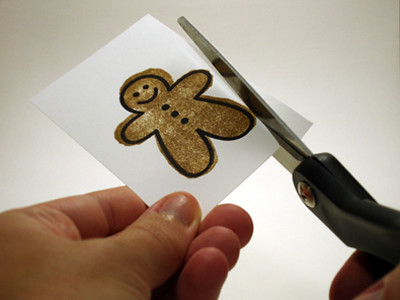
- Finish Stamping Gingerbread Man. Use a different color ink to stamp the gingerbread outline stamp on top of the gingerbread background. Don't worry about lining up the outline stamp perfectly with the background stamp. Images that are a little offset look great. Then cut out the gingerbread man, making sure to cut out around the outside of the background stamp, not the outside of the outline stamp.
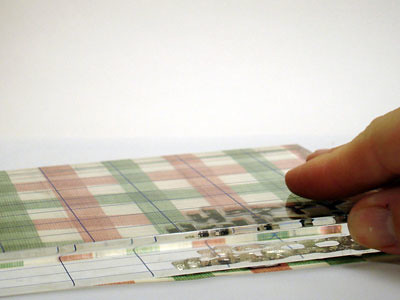
- Stamp the Greeting. I used Christmas Gingham paper and trimmed it to 4" tall x 5.25" wide, then positioned the greeting in the lower right-hand corner.
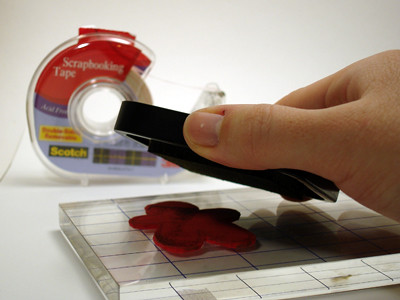
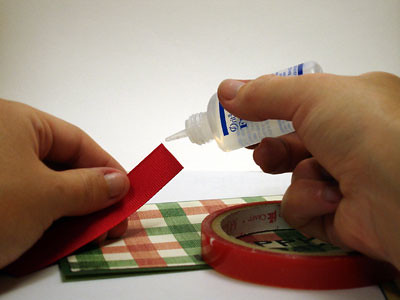
- Assemble Card. Cut a piece of green card stock to 8.5" by 5.5", then use a bone folder to fold it in half. The resulting card should be 4.25" tall by 5.5" wide. Use your favorite tape, glue, or other adhesive to attach the gingham paper to the card stock base. Add a coordinated ribbon, cutting the ribbon to approximately 6.5" long. Use Fray Check
on the ends to prevent it from fraying. Cut a strip of Terrifically Tacky Tape (or other double-sided tape) as long as the ribbon, and carefully lay it across the card (using a ruler if necessary to keep it straight). The tape should wrap around both edges of the card's front. Once the tape is in place, carefully attach the ribbon to the tape, doing one small section at a time to ensure the ribbon remains straight.
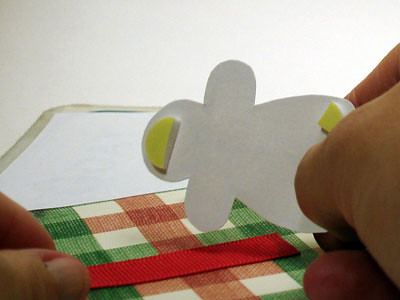
- Attach Gingerbread Man. For extra dimension, use Pop Dots behind the gingerbread man.

Variation: Of course, if you want to go all out for a few special cards, you can modify this idea to make a polymer clay gingerbread man card. Follow these basics of rubber stamping on polymer clay. You won't need to make a separate background stamp — just use a brown clay and leave a margin when you cut out the gingerbread man. And be sure to use a strong clay (such as Fimo or Premo) or a blend containing Ultralight Sculpey if you're sending it through the mail.
